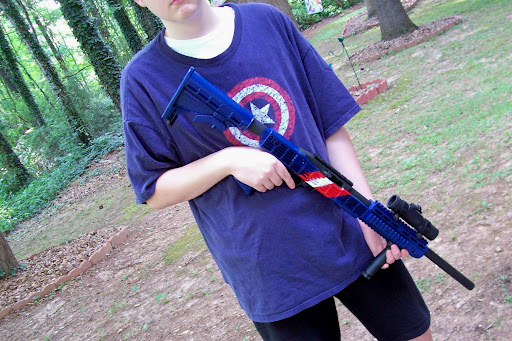
A follower on Twitter recently asked me for some details about the paint job I did for Captain America, and I realized I had been remiss in providing those earlier. So, here they are . . . .
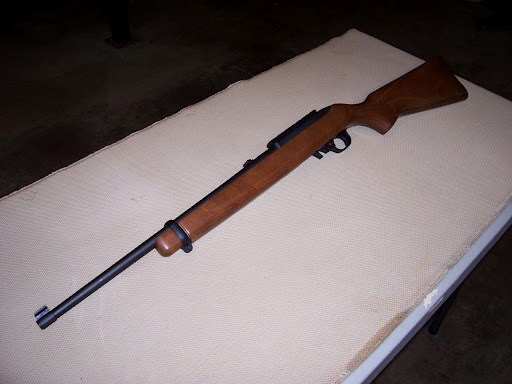
Captain America started life as the lowly Steve Rogers, a bone stock Ruger 10/22 I bought at a big box store.
The gun was a good gun, accurate, but certainly with room for improvement. The only real complaint I had was an alarming number of failures to extract, especially late in the day when the extractor was getting dirty. The Ruger factory piece is stamped, and that means one side of the part has a slightly raised ridge on it. Rather than do the gunsmithing, I replaced it with a Volquartsen extractor. This piece is cut by EDM and is sharp and clean on all sides. The result has been spectacular: zero failures to extract in almost 2,000 rounds since installation.
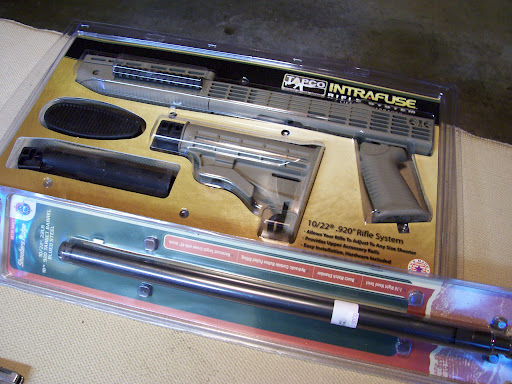
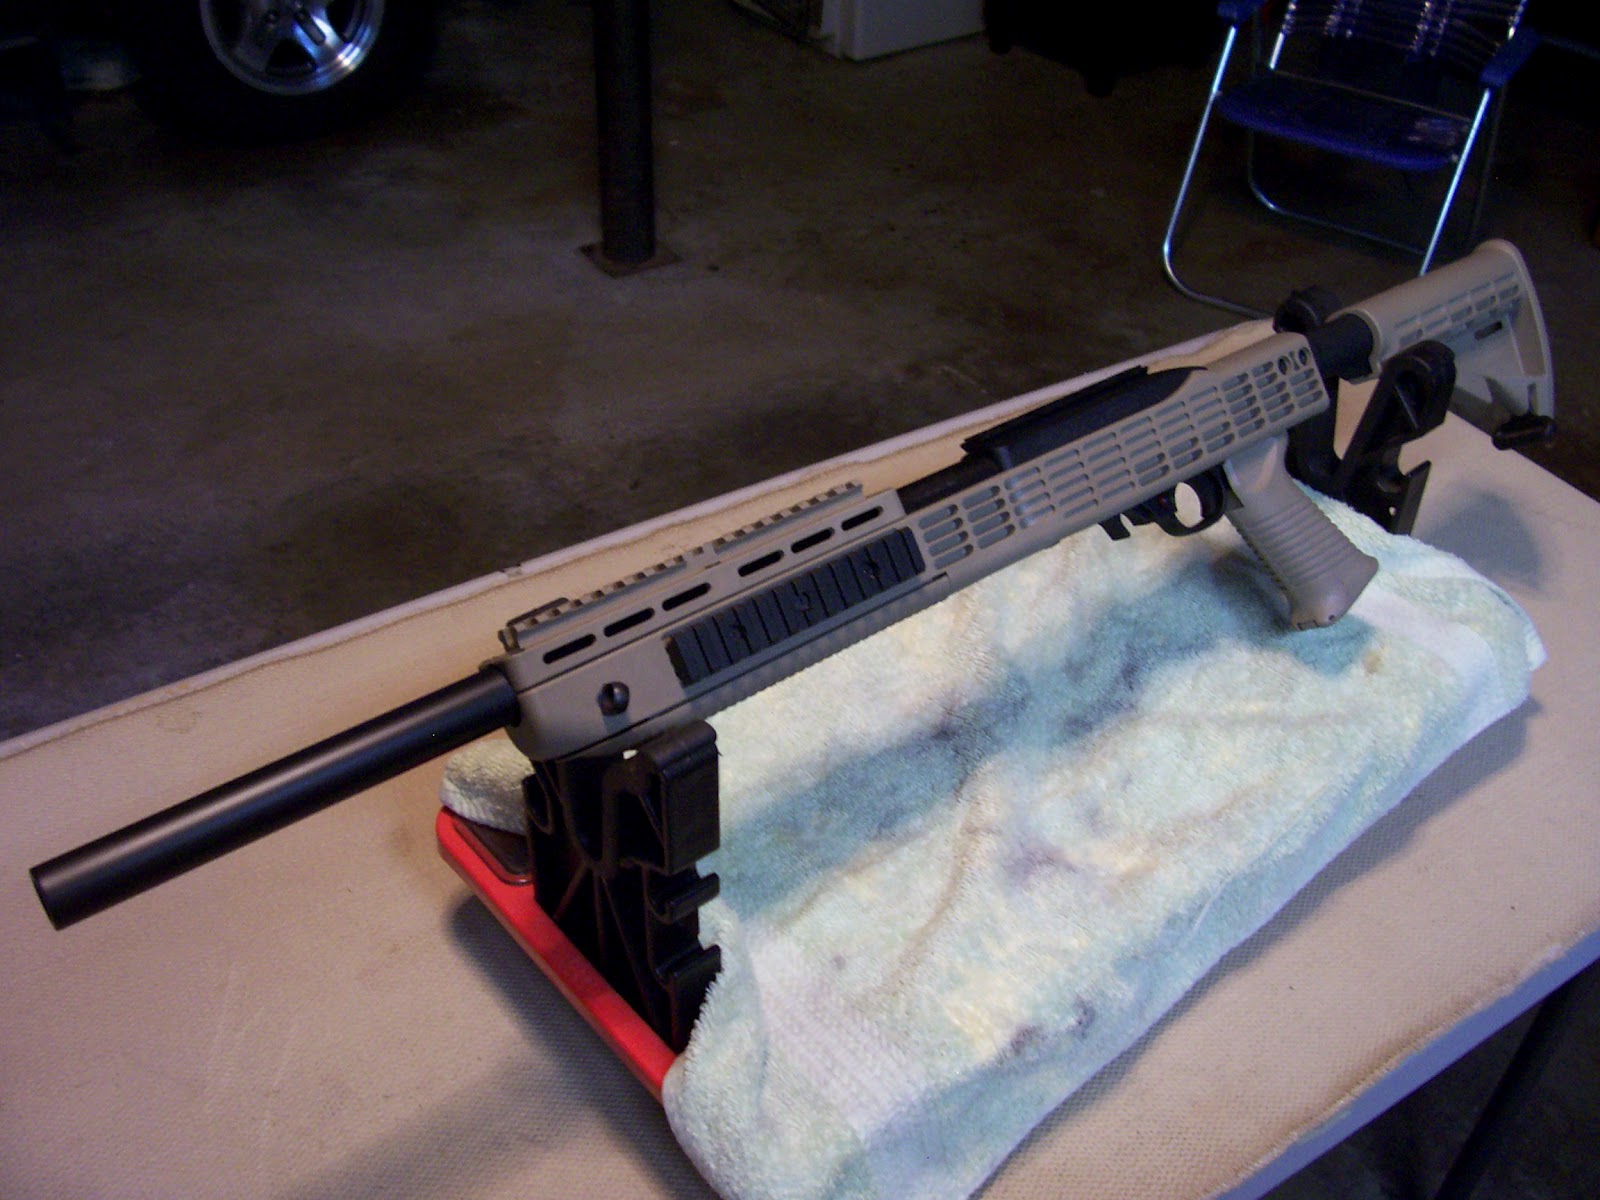
I also replaced the factory furniture with a Tapco T-6 stock kit. This provided a very good platform, and the gun performed flawlessly.
I shot it several times with the plain colored stock, until I had the opportunity on Memorial Day to paint it.
The key to any good paint job, as Bob Vila or Chip Foose will tell you, is preparation. One of the problems in the past has been to get paint to adhere well to plastics. For guns, one choice is to used Duracoat, similar to what I did on Lee, my Mossberg 500. However, Krylon makes a paint called Fusion that is designed to apply to plastic, and at about one fourth to cost.
To prepare it for paint, I read the back of the paint can and followed the instructions. First I removed the stock, and washed it with detergent and rinsed it well with water. I then wiped down all the parts to be painted with paint thinner, I stuffed the inside, where the gun action goes, with newspaper, to prevent over spray. I also inserted a foam ear plug into the main screw hole that connects the gun receiver to the stock, since the threads needed to stay clean.
I hung the stock up by a piece of wire and painted the base coat, blue, using long flowing strokes, and light coats. The key is to not add enough paint that there’s enough to run. I let it dry 10 minutes between coats, and put on 4 coats of blue.
I then taped off everything except the area I wanted the red strip to be, and did three passes in red.
I admit I wasn’t sure if I wanted the white stripe, so at this point I stopped. But I did decide on the white, so I had to wait 24 hours before taping it again and adding three coats of white.
Finally, it was done, and after an hour I pulled the tape. I let the paint cure for several days, then installed the gun action.
I didn’t try to install the optics until a full week had passed, because by then the paint has set up to a very hard finish.
I re-installed the front grip and the red dot sight, and now I’m looking forward to a range trip with the finished gun. Stay tuned.