Be Prepared, Part 7 – First Aid for the Range

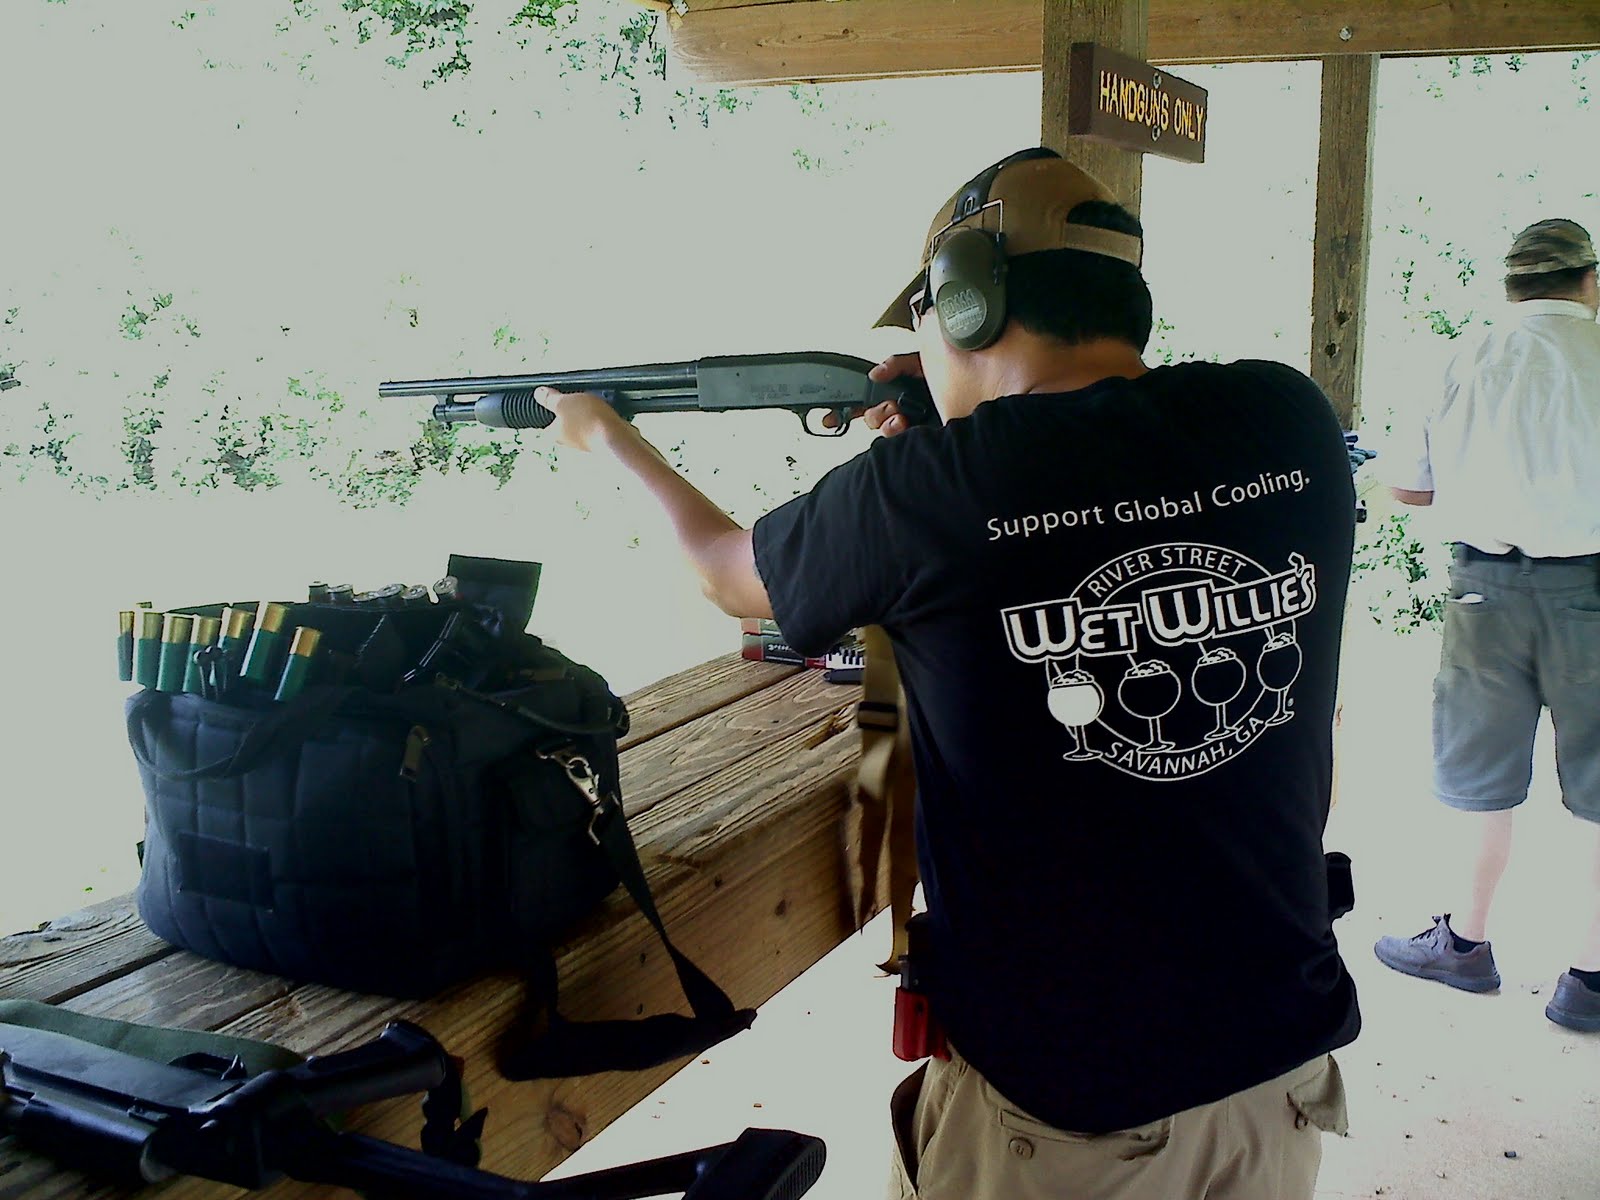
I am taking a week of vacation next week, staying around the house to get some projects done, and planning a couple of range days. This got me thinking about the things in my range bag, and naturally, my First Aid Kit came to mind.

One of the best things I learned in Boy Scouts was First Aid. After taking countless first aid, CPR, and first responder training courses in my 26 years in the chemical industry, I have come to realize how really good the Boy Scout first aid training was.

Early in my career as an engineer, I was a little frustrated at how shallow the first aid training at our plant was. We learned nothing about splints, or tourniquets, or treating shock. But I soon came to realize the reason for the depth of training. In Boy Scouts, injured victims are extremely vulnerable out in the wilderness. There, your job in a medical emergency is to keep the victim alive until you can get back to civilization, and then to the hospital. In industry, all you have to do is keep the victim alive until the paramedics arrive. The time difference is extreme.

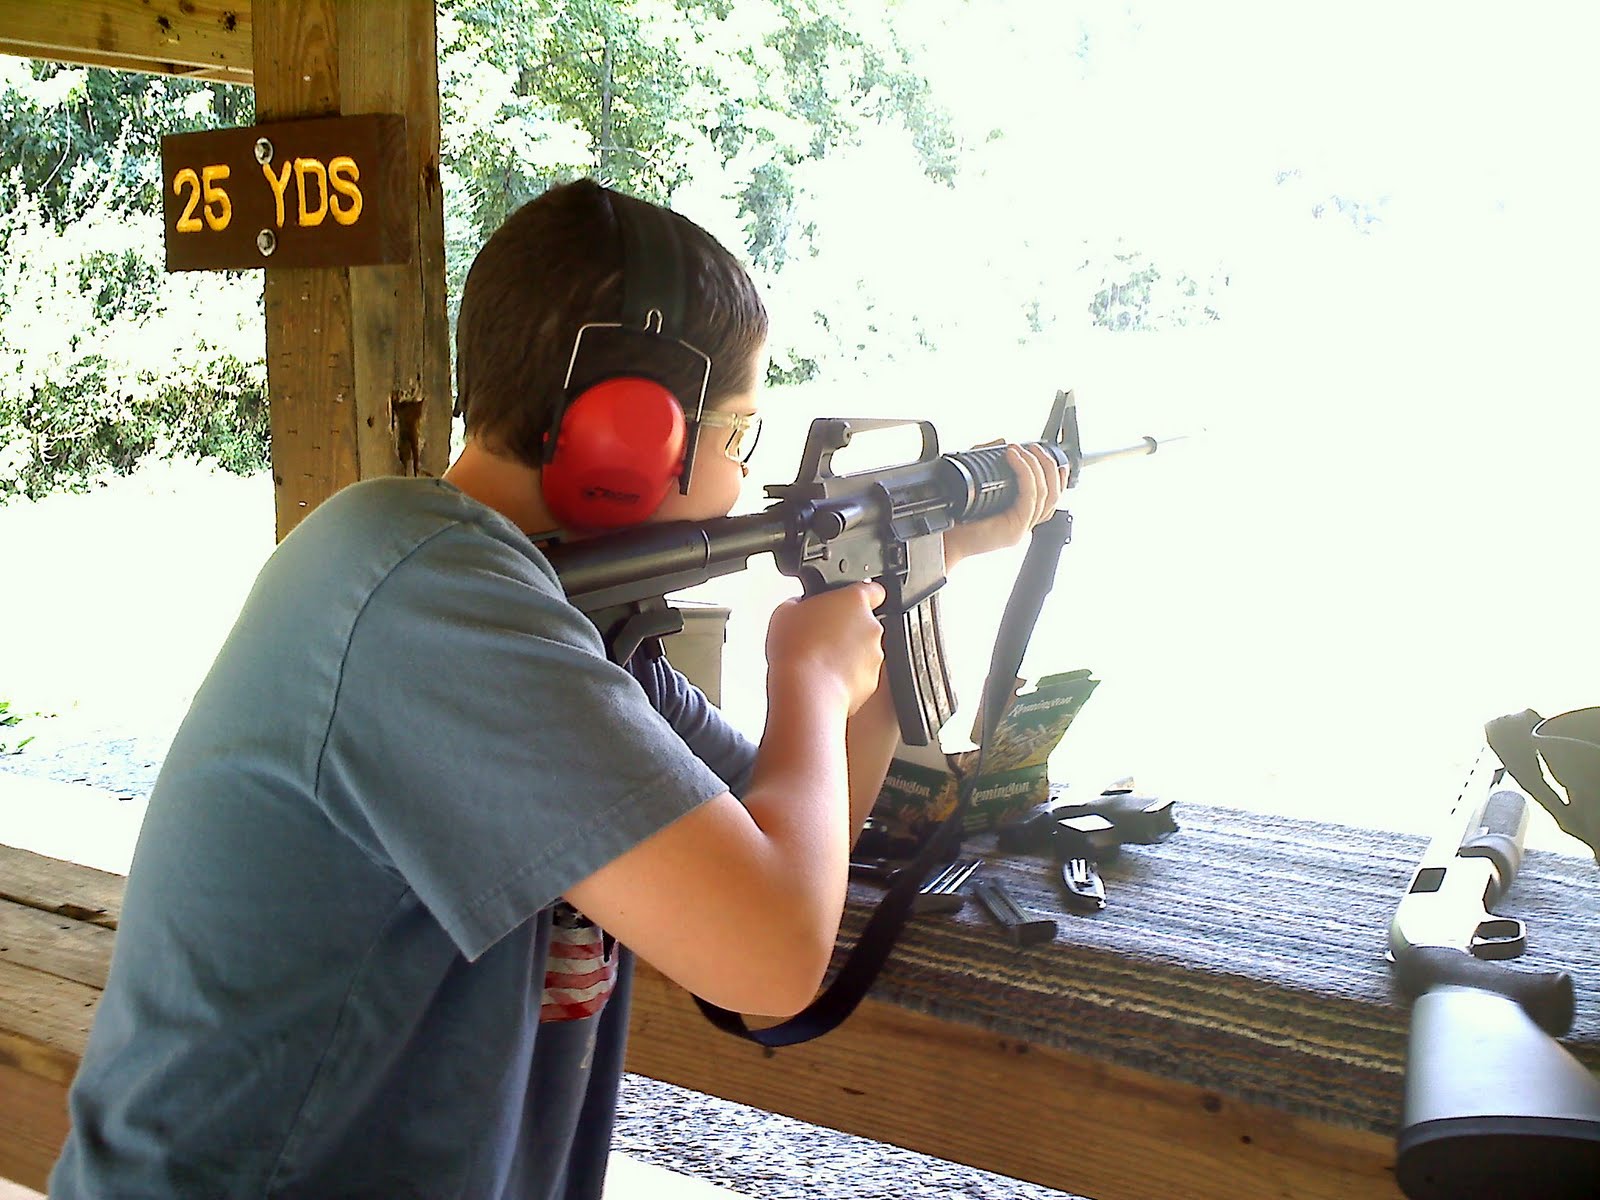
An injury at the shooting range is closer to the first situation than the second. Unless you’re at an indoor range in the city, chances are you are way out in the boonies, where it would take a paramedic crew a half hour to get to you, provided you could call them. I don’t know about you, but I don’t get a cell signal at the WMA where I take my son and the Posse to shoot for $5 a carload.

This means you need to be able to keep an injured person alive for at least 30 minutes, maybe longer, and for that, the normal car first aid kit won’t do. You need some kind of trauma kit that, at the least, helps you deal with a gunshot wound.

Fortunately, the state of the art in emergency medical care has advanced a lot since the Spanish American War when I was in the Boy Scouts. Compression bandages, clotting compound, and tactical tourniquets have all been developed since then, and you should have them in your bag.

Now, I’m not going to go into all that you should have in your bag. Bob Owens of Shooting Illustrated did an excellent job of that recently, and I can’t improve on his report. What I can do is tell you – have a first aid kit in your range bag.

In my bag, in addition to what Bob lists, though, I also have some regular adhesive bandages and a roll of first aid tape, because not all the injuries will be gunshot wounds. Fortunately, in my years shooting I’ve had to treat a lot of cuts and blisters, but no bullet holes.

Once you get a kit, get training. If nothing else, take the Red Cross Basic First Aid course, and make sure and ask the instructor to cover how to treat gun shot wounds at the gun range. While you’re at it, take a CPR course, and stay certified. You can find the American Red Cross in your phone book, or (if you’re like me and you throw that useless thing in the recycle bin as soon as it hits your driveway) you can look them up online.

The clotting agent and compression bandage makers all have videos on their websites, too. Watch them often, and know how to use them.

Above all, be prepared. Preparation means you stay cool, if and when an emergency happens.

GeorgiaCarry.org Annual Convention

GeorgiaCarry.org, the premier voice for the Second Amendment in Georgia, will be holding its third annual convention this weekend, at the Renaissance Waverly Hotel near the Galleria in Smyrna, and I will be there.

If you’re going to be at the convention, email me or send me a Twitter message and we’ll get together.

The deadline for buying tickets was last weekend, so if you don’t already have your tickets, you’ll have to wait until next year. But, GeorgiaCarry members can still attend the “Meet the Board” session from 11:00 AM to 12:00 noon. Just show your membership card.

Convention attendees can also enjoy a light breakfast, coffee, and a morning at the Sandy Springs Gun Club and Range , from 9:00 AM to noon, for just $5. Just bring your convention badge. A map to the range can be found here.

Product Review – M.A.D.S. from M2 Corporation

You’re armed with your Glock pistol, or a 1911, and you’re attacked. But, because of the situation, you can’t shoot. Maybe what’s behind your target prohibits you from shooting – remember Rule 4? But you’re close enough to use the gun as a striking weapon. If only you had something built in that would make this something more than the classic pistol whipping.

The Magazine Auxiliary Defense System, or M.A.D.S., from M2 Corporation, is a replacement floor plate for the Glock magazine. It features a pair of aggressively crenelated fins that protrude from the baseplate, and is designed to give the gun owner a back-up means of self defense, when circumstances keep him or her from shooting.

I received a couple of M.A.D.S. floor plates from Michael Wogelius, CEO of M2, to test, one for the Glock, and one set for a 1911. Since I only have Glocks, I’m probably going to give the other set to a friend with a 1911.

The floor plate easily replaces the normal floor plate on a FML or Gen4 Glock magazine. First, remove the old floor plate, using a Glock Armorer tool, or a punch – insert the tool through the hole in the bottom of the floor plate, disengaging the magazine insert from the hole in the floor plate. Leverage the floor plate toward the curved edge of the magazine. The floor plate will slide off of the underlying magazine insert and off the end of the magazine body. Be careful – the magazine spring is under a lot of tension, and it will come out.

Then, re-compress the magazine spring back into the magazine body, and follow it with the magazine insert. Then install the new M.A.D.S. floor plate in place of the old one.

It’s that easy.

M2 points out that the installed M.A.D.S. floor plate also acts as a way to grasp the bottom of the magazine in inclement weather, even with gloves on. I tried it using gloves and I had no problem.

The only problem I had was when I tried install the floor plate on an older, NFML magazine. Apparently the NFML magazine bodies are just a little shorter than the FML, and the M.A.D.S. floor plate was a little too thick to seat the magazine the first time. I had to press fairly hard to get it to seat. My recommendation, therefore, would be for users not to use this on NFML magazines, to prevent inadvertently losing your magazine because it wasn’t latched in place. (I know, because the first time I tried it, the magazine fell on the floor. Not good.)

Also, the Glock floor plates only fit the smaller frame Glock magazines, not the .45ACP or 10mm magazines. I don’t know if M2 has plans to introduce those, but I know there are a lot of folks with these larger guns who might be interested.

As with any defense technique, the M.A.D.S. system would take training and practice to use effectively. My concern would be that I would inadvertently put my finger on the trigger if I used my pistol as a striking weapon. But in trained hands, there is no arguing that a blow connected by a M.A.D.S. floor plate would definitely leave a mark, both physically and psychologically.

For further information, contact M2 Corporation at www.m2corporation.com.

The M.A.D.S. kit (gun, magazine, and armorer tool not included)

The M.A.D.S. floor plate installed. Wicked.

FTC Disclaimer: I was approached by M2 Corporation through LinkedIn and offered a free M.A.D.S. system, in exchange for a review, and photos of it on my gun. I received no other compensation, and the views and opinions expressed here are my own.

Project Update

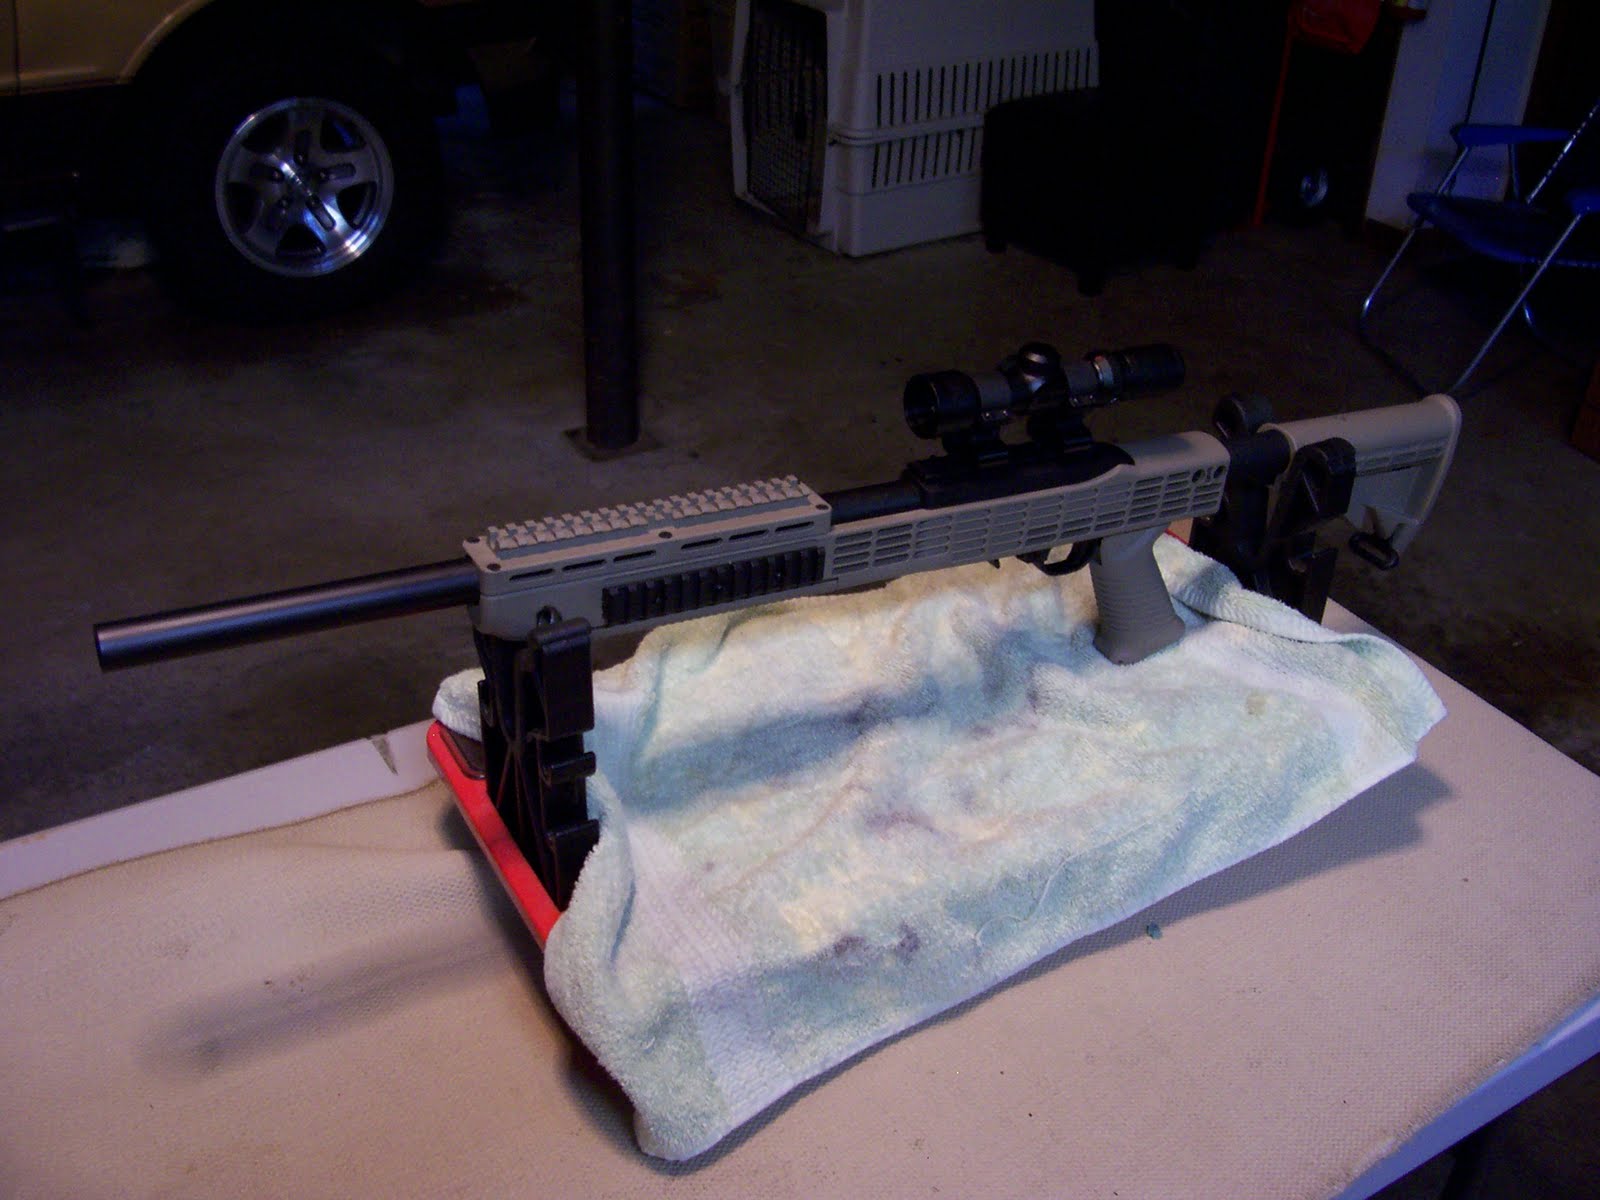
A couple of months ago I talked about some upcoming projects that I wanted to do, and how I would decide the order to do them. The order turned out to be to refurbish my Mossberg 500, then build a new AR-15, then upgrade my Ruger 10/22.

Since then I have completed the Mossberg refurbish. I plan to go shoot it next week and report on the results.

However, a number of factors have led me to revise the order of the other 2. First is the fact that building the AR would have cost more money than I have available at this time, in essence stalling both remaining projects until I have saved up enough. Adding to this is the fact that the AR will add another caliber of ammunition to my inventory, relatively expensive ammunition.

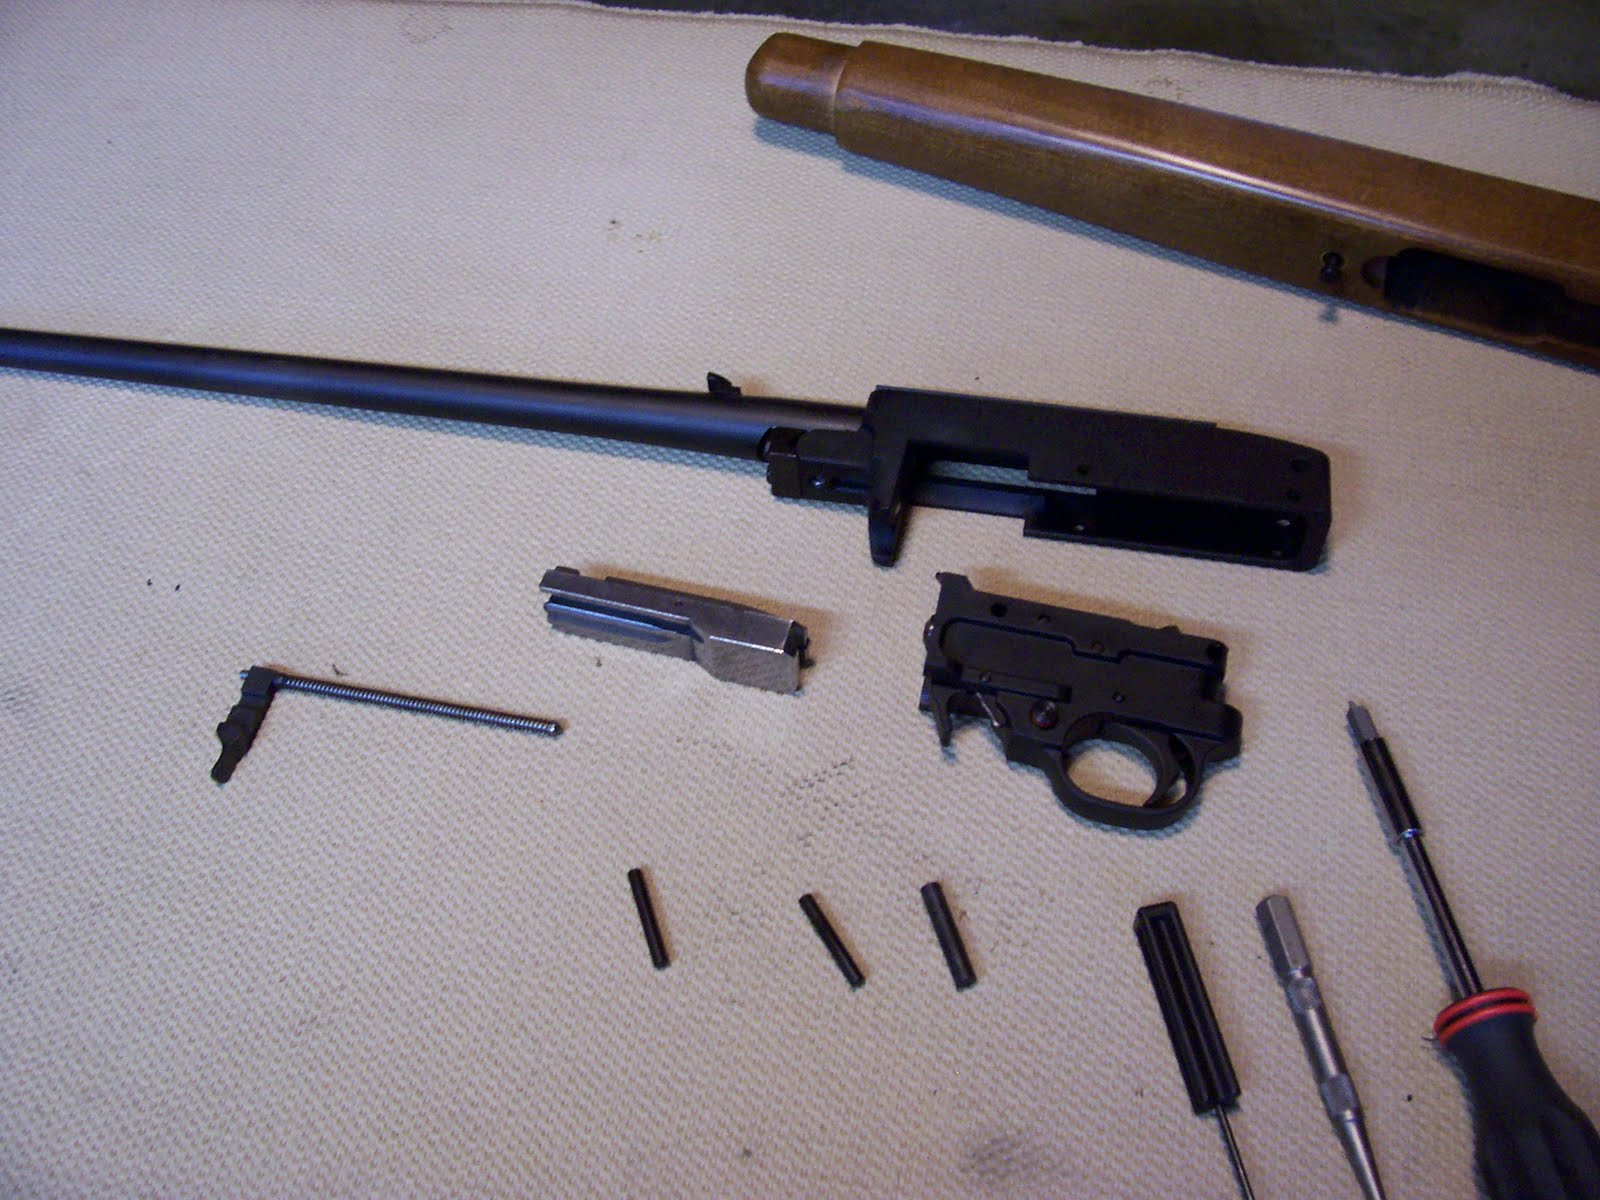
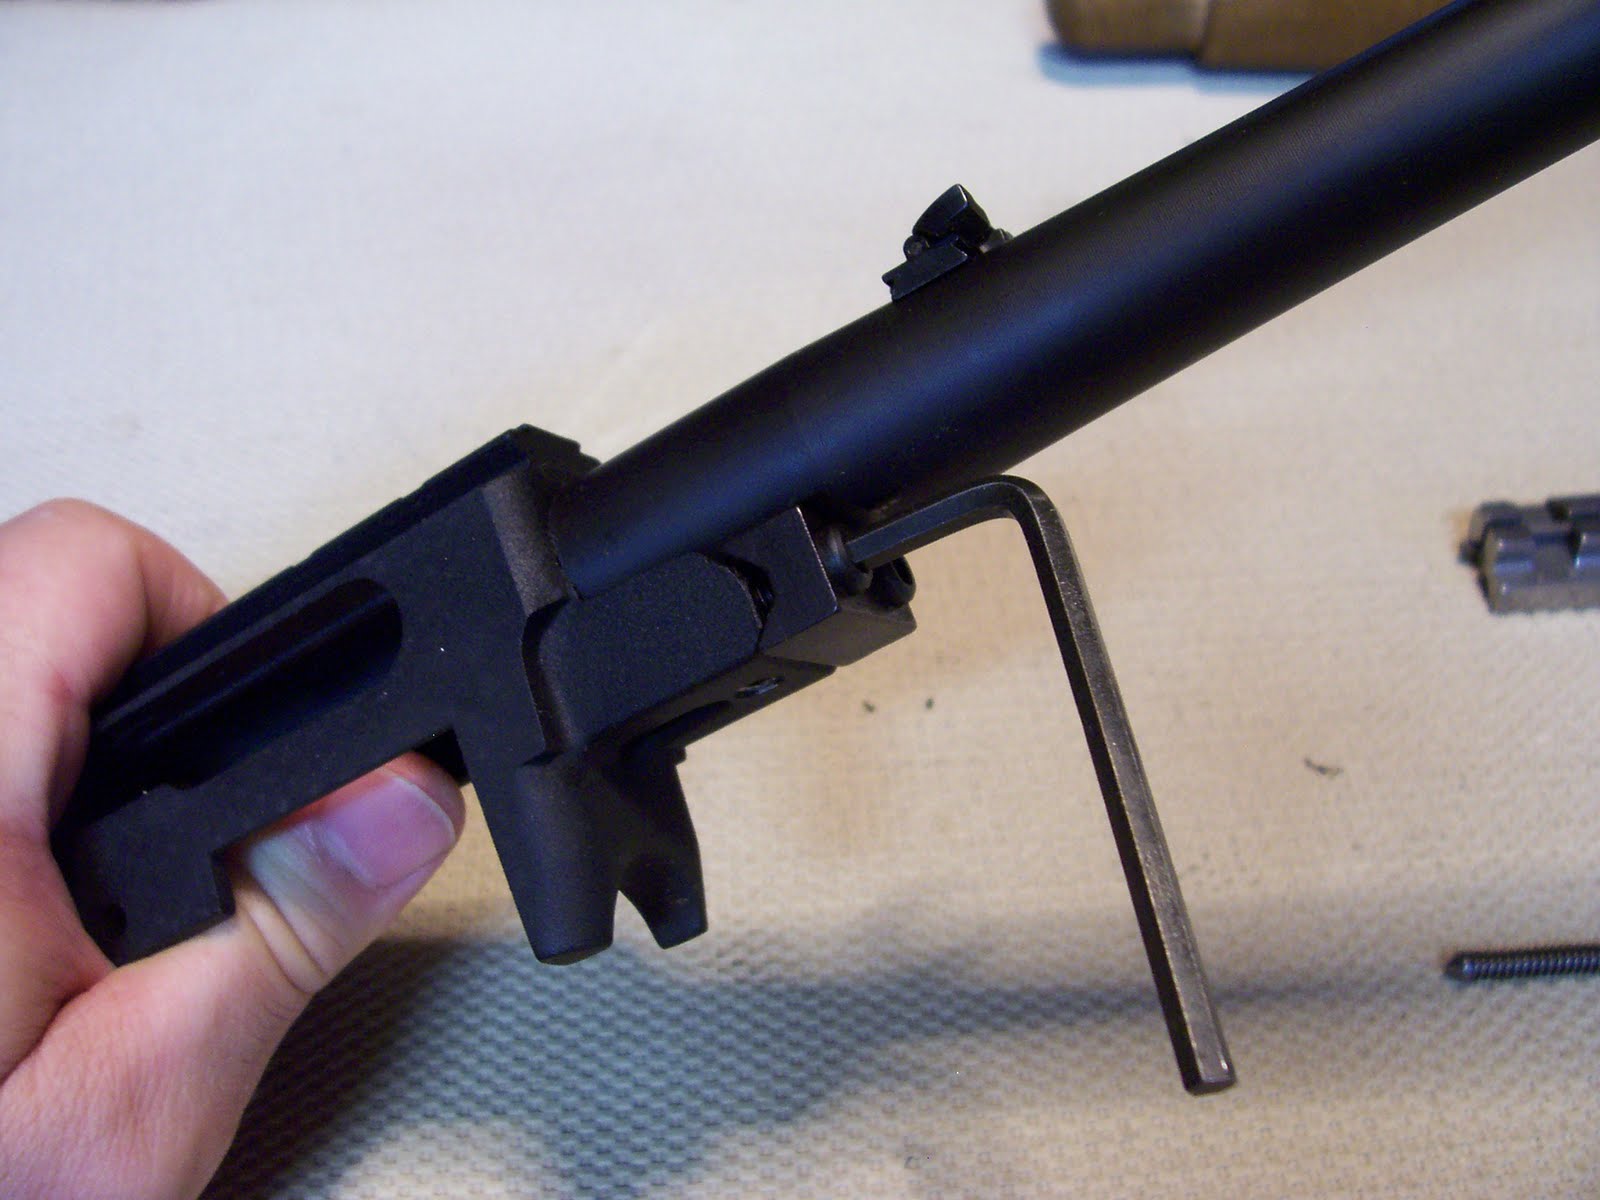
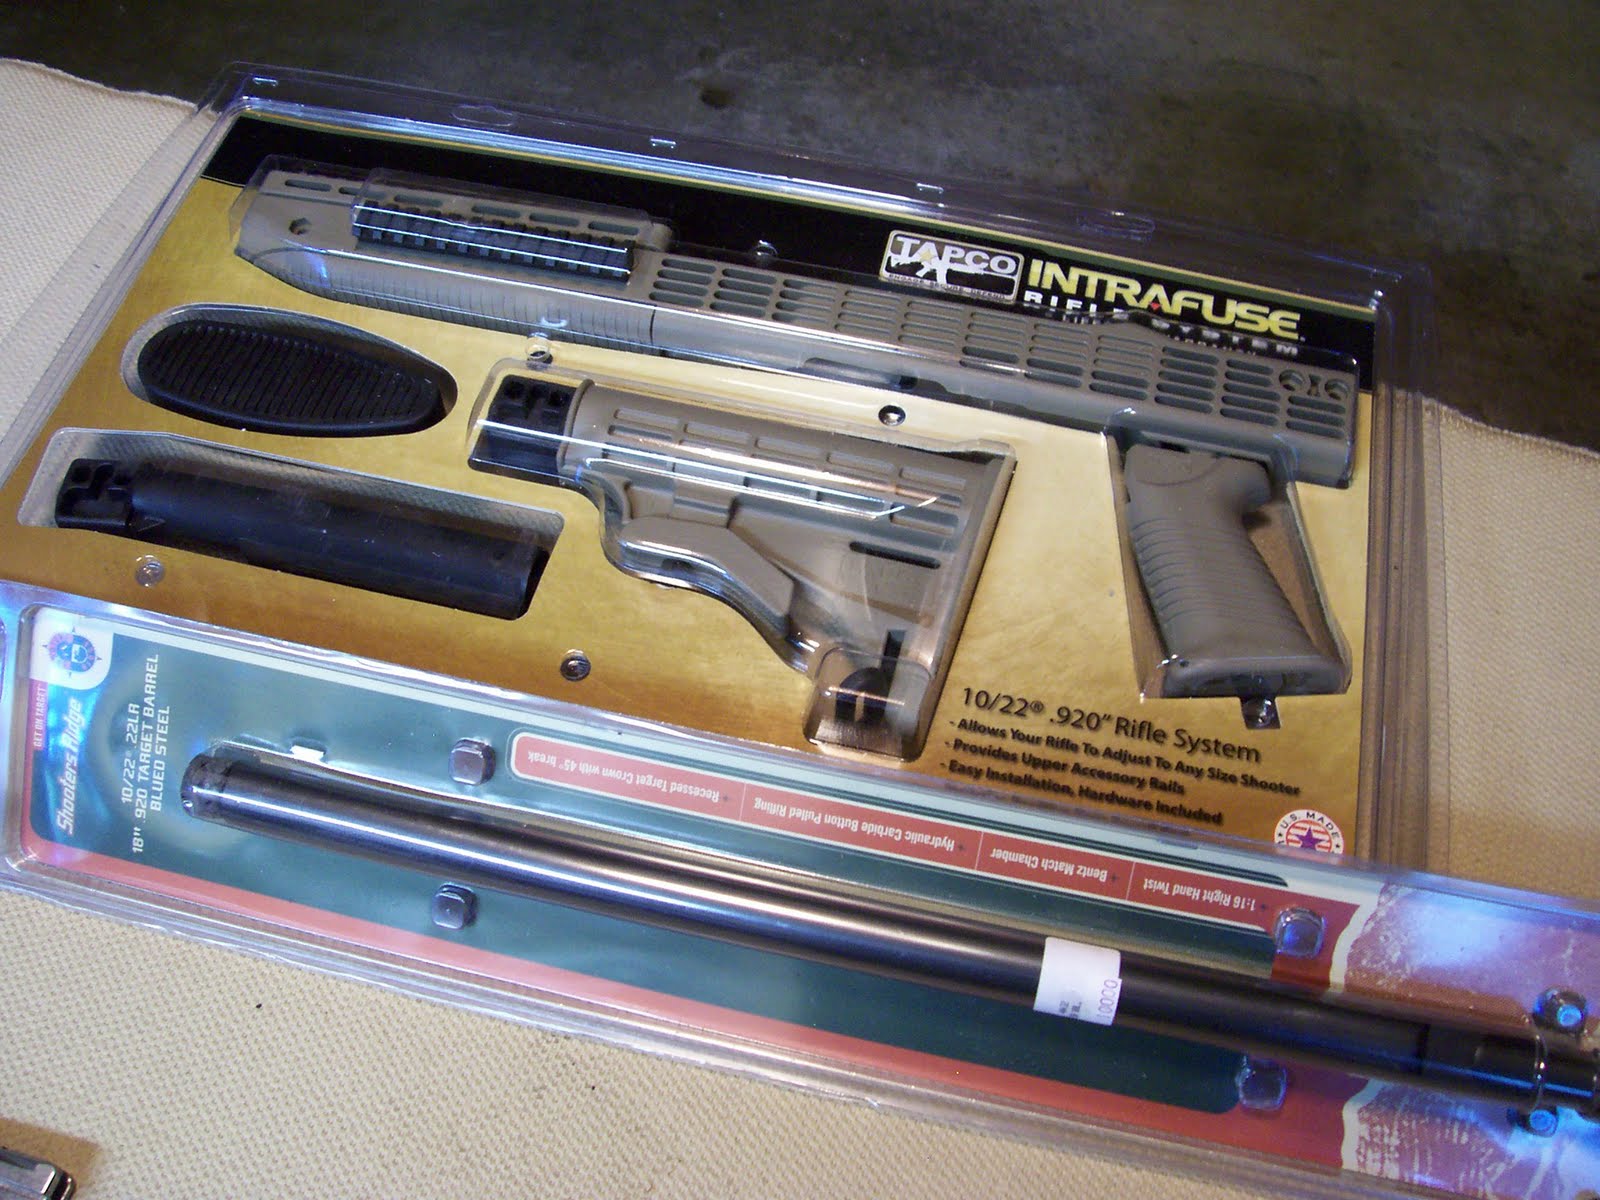
So this led me to reconsider my rankings, and move the 10/22 rebuild up. In fact, all the parts are on order, and should be in hand by the weekend. This means that, barring a family emergency or zombie apocalypse, I should be able to complete the project, and take my 10/22 to the range next week.

So, given my earlier post about the rigorous method I used to rank my projects, how do I justify the change?

It turns out that the Utility factor has a lot more involved in it than just how much I would shoot the gun in a perfect world. I didn’t really consider the cost of ammo, which was a mistake.

And, it reminds me that rankings are fluid, and can change. And, it reminds me that, when it all comes down to it, as Captain Barbosa once pointed out, the rankings are really more like guidelines.

+++

Yes, I could reload my own .223, but that is, in essence, another project. It is on my list, but not very high, I admit.

+++

On a semi-related note, as I’ve related before, I name my guns, and my son and I almost always refer to them by name. The 10/22 was named originally Captain America, to complement Bucky, the Buck Mark. Since then, we’ve both taken to calling the 10/22 in its current configuration Steve Rogers. (If you are unaware of the correlation, Google it. Sorry, Carson’s Law.)

So now, here comes the Super Soldier project.